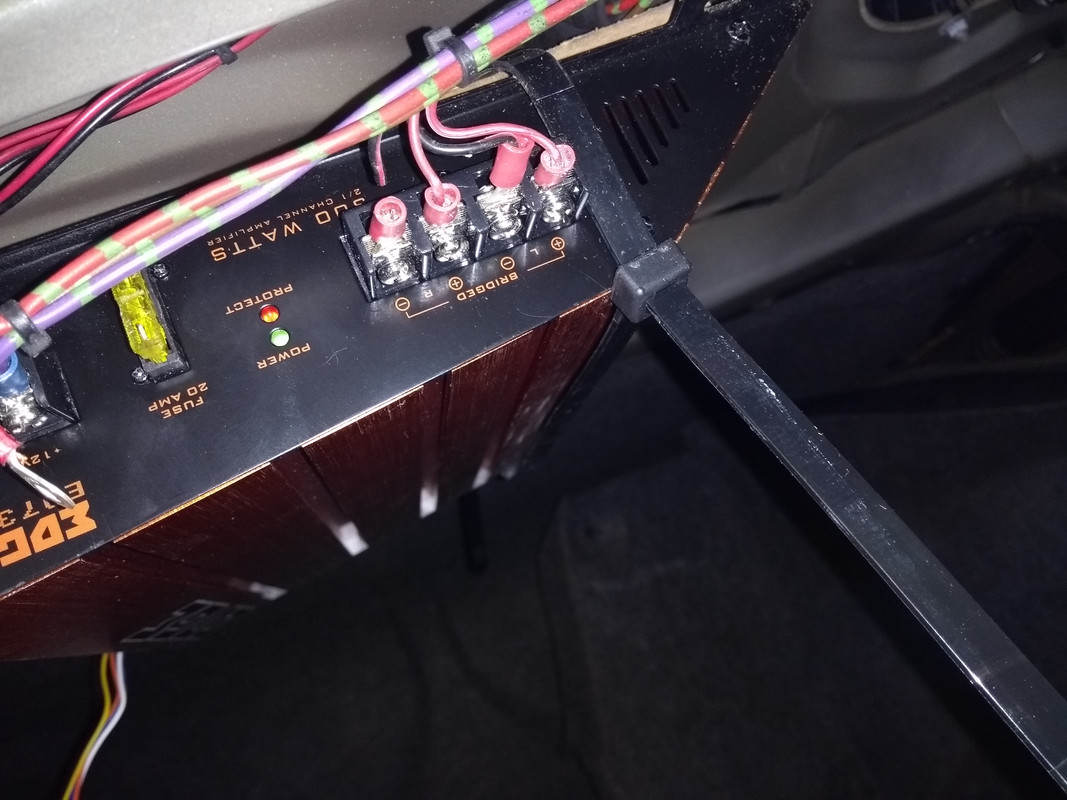
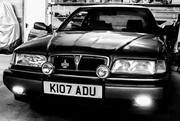
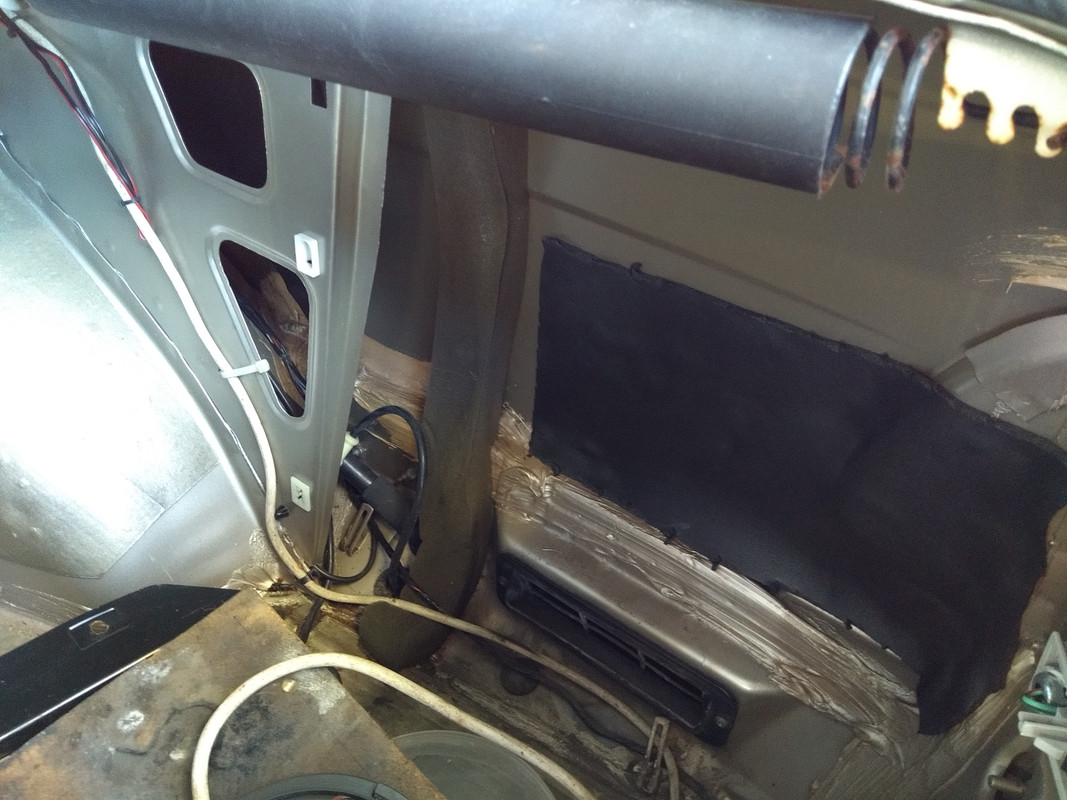
I finally found a radiator, manual one and external ATF cooler and after my success with the amplifier, the speakers died!
Ignoring that for a moment, i took a lot of pictures while doing the rad etc.
After doing a bulk-upload of 49 photos, firstly from my phone to my PC and then from my PC to postimages, after waiting several minutes with my computer telling me it was uploading at 7.7Mbps, i got there in the end!
Not going to put all 49 photos in this one post - that would be silly!

I'll put the better ones in so it's still likely to be "pic heavy" - here goes!
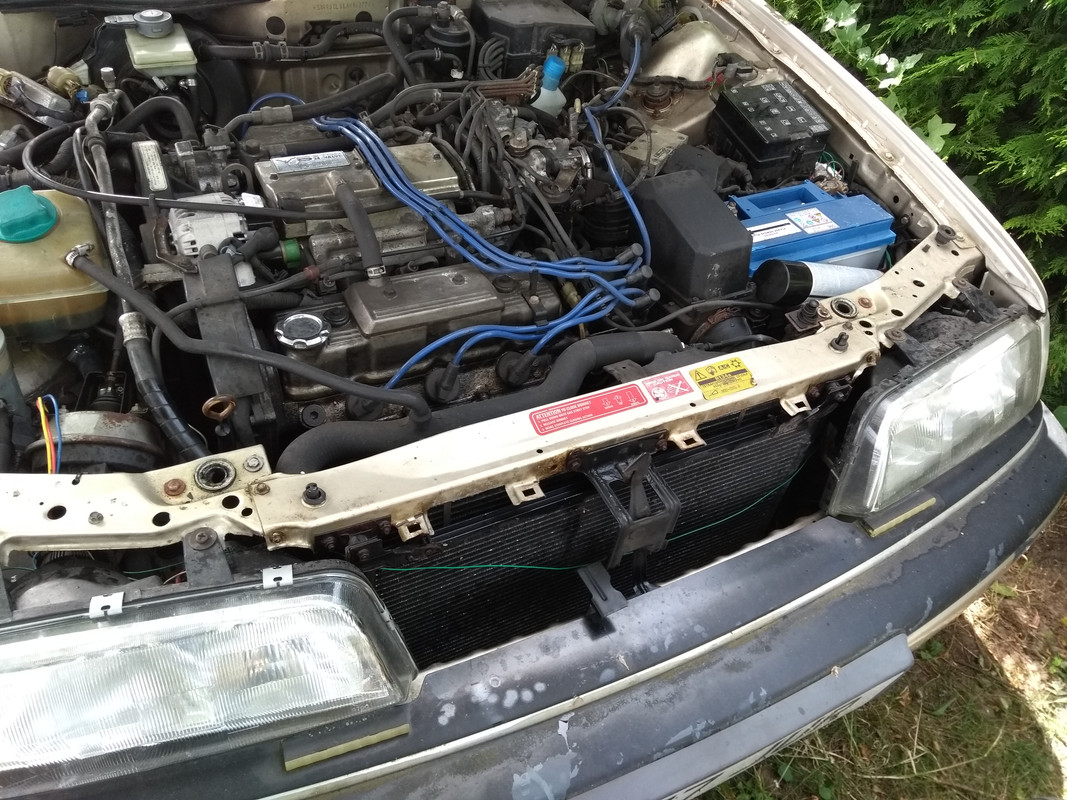
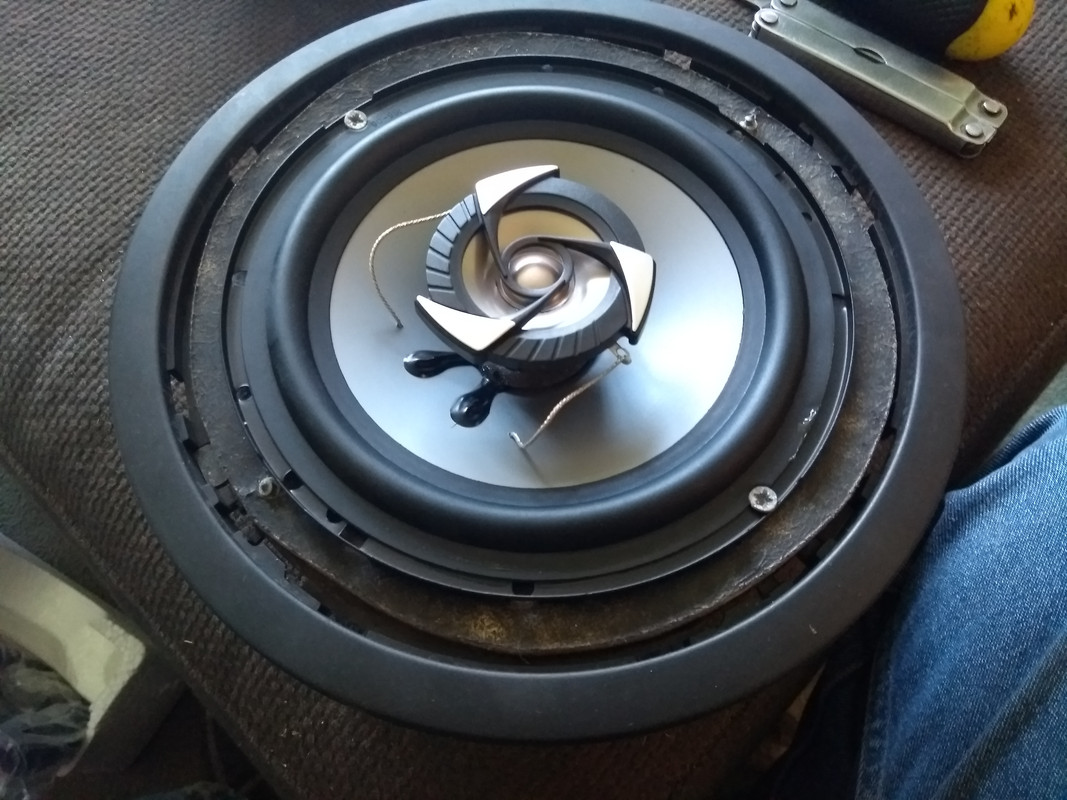
Difficult to see, that was when the cone disintegrated in the first rear speaker to die! Second committed hara-kiri a few minutes later. More of that later on, for now, this was how the radiator job started - note the can of WMP next to the battery!

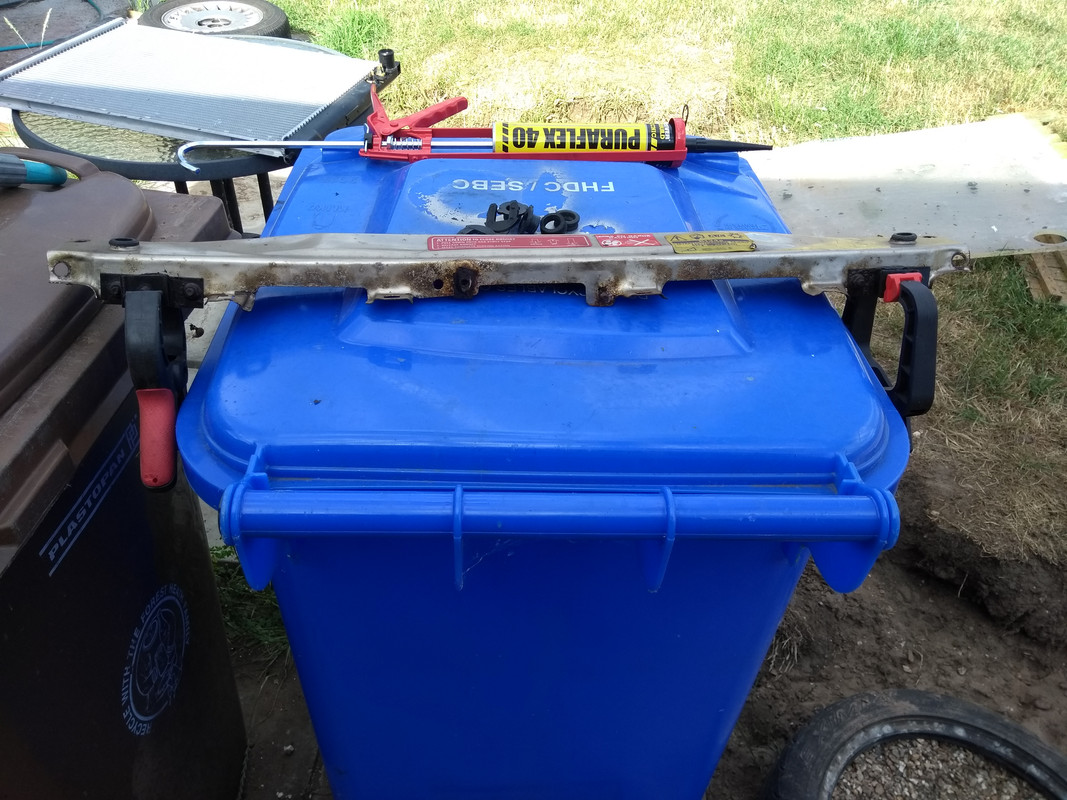
Slam panel removed :
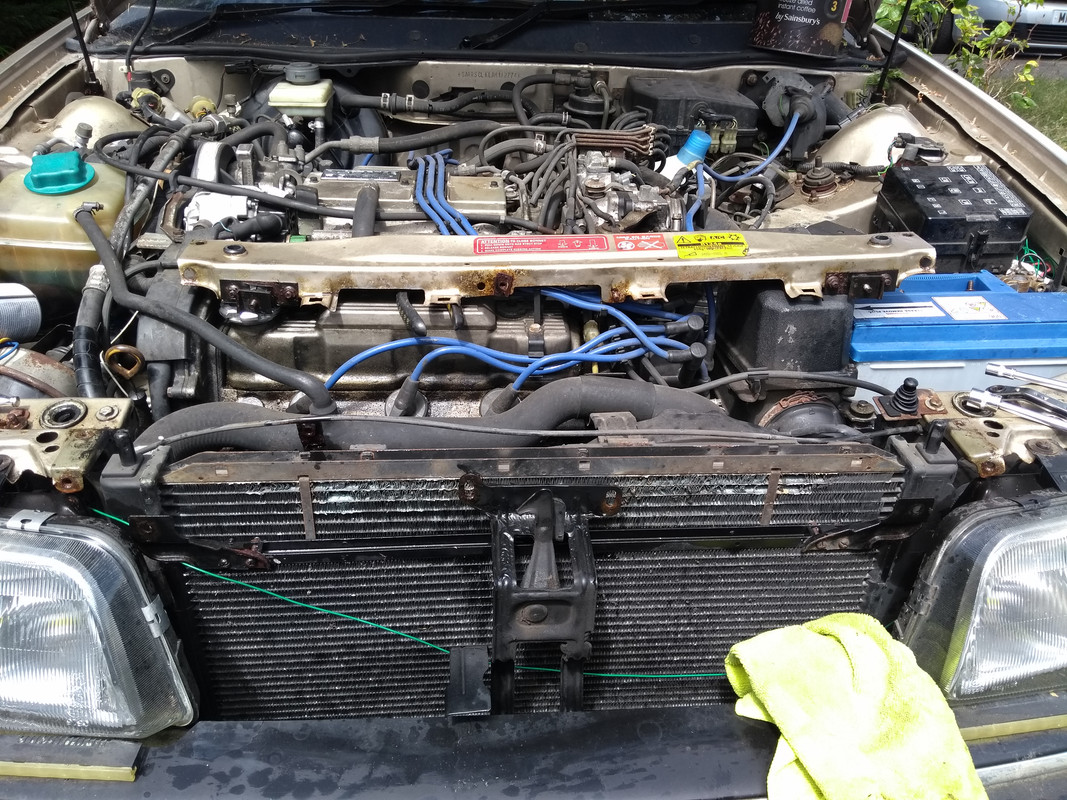
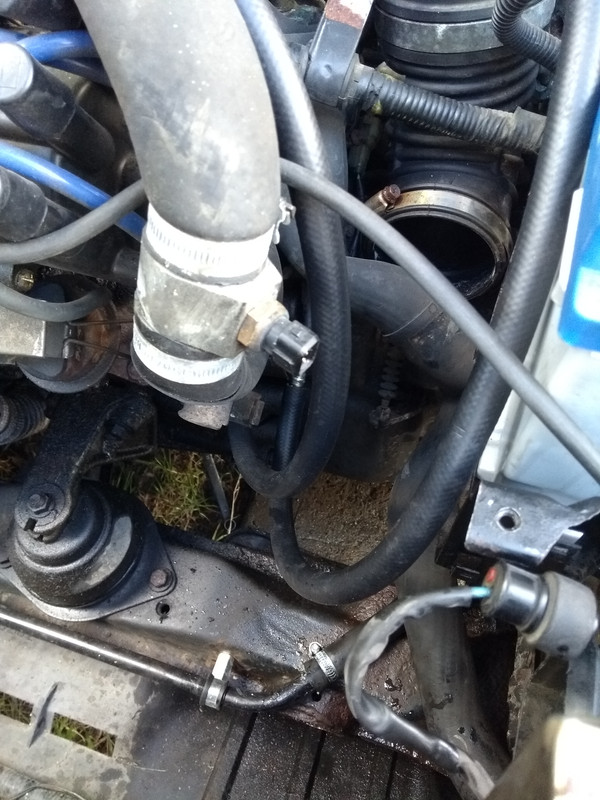
Air filter box etc removed for access to bottom hose and ATF cooler pipes from the box :
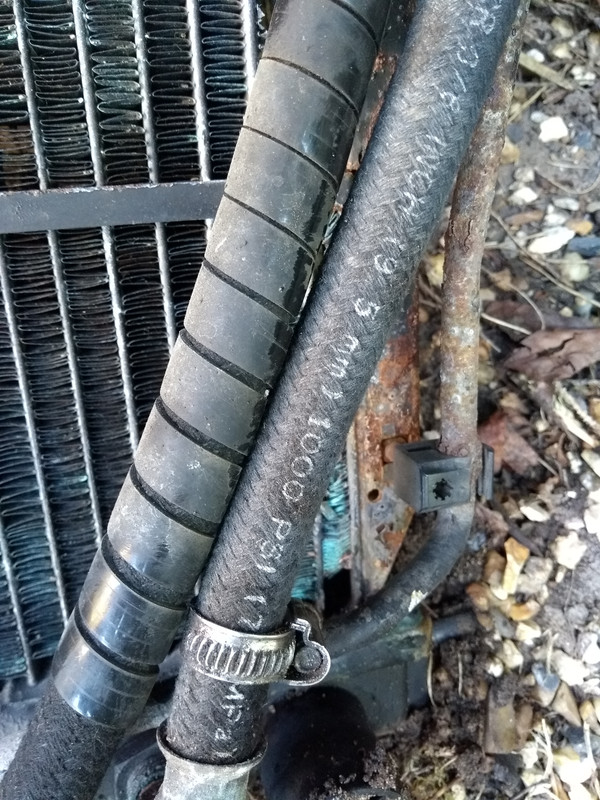
Spot the difference! ^^^^^ Finally got the rad out - those ATF hoses were steel wire reinforced, 1000psi constant hydraulic hoses!

New ATF hose pushed into position to minimise leaks :
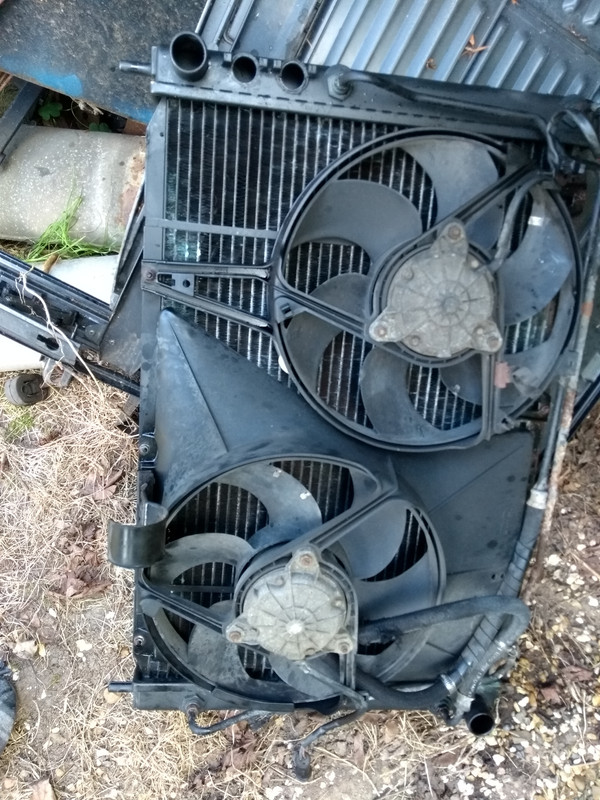
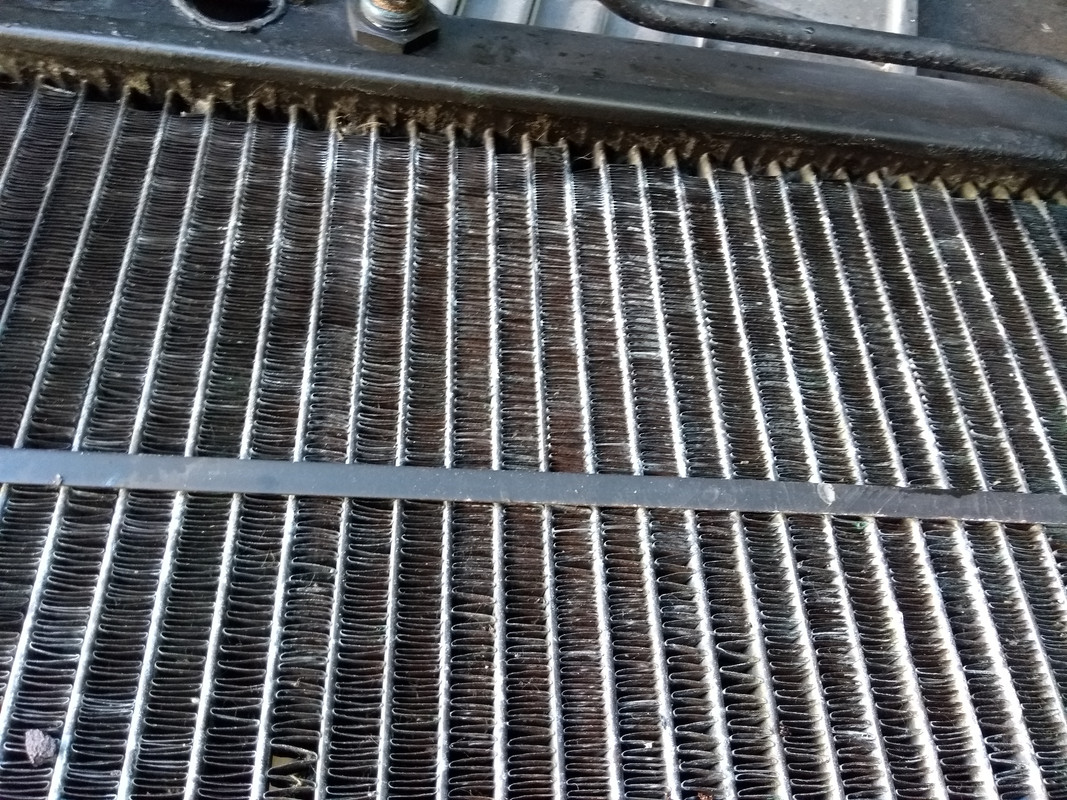
The old rad from front and back - wasn't long for this world at all!

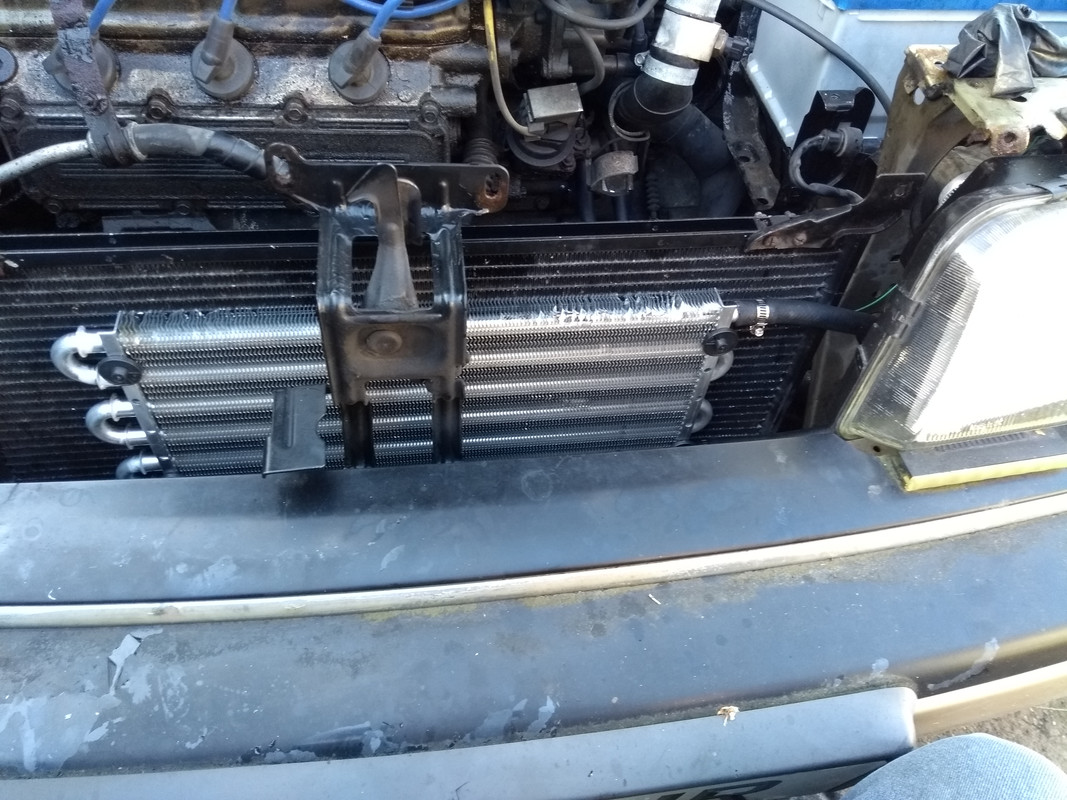
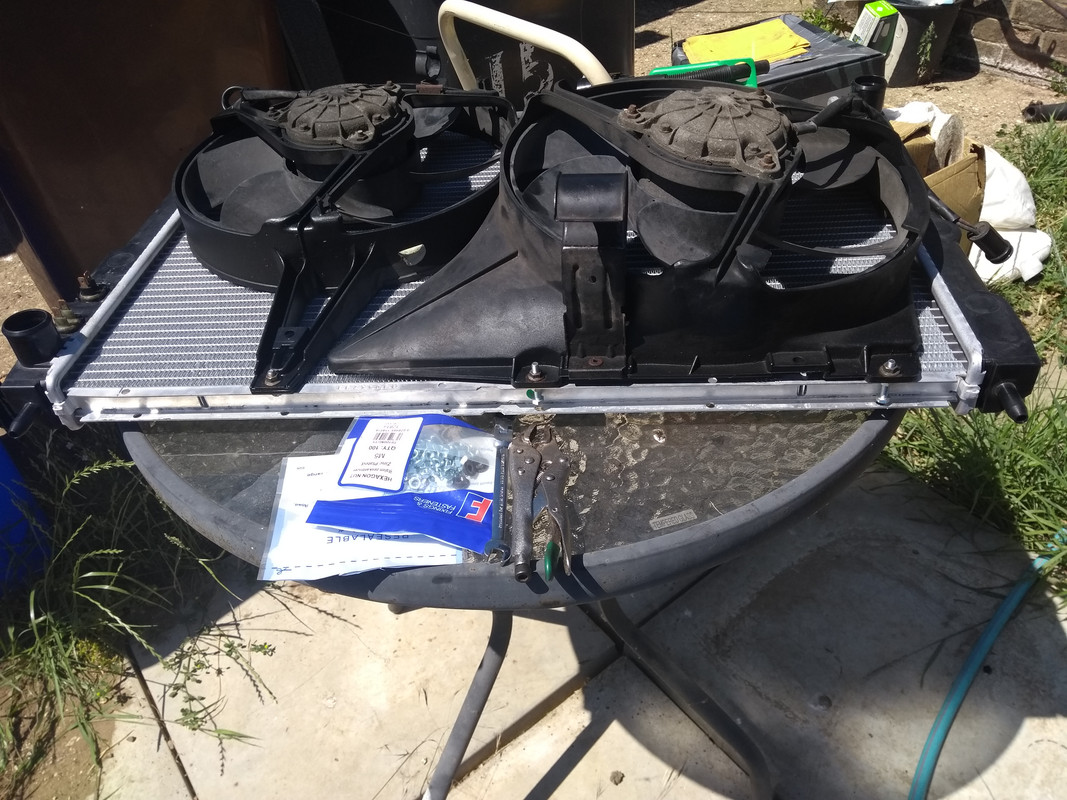
This is more like it!
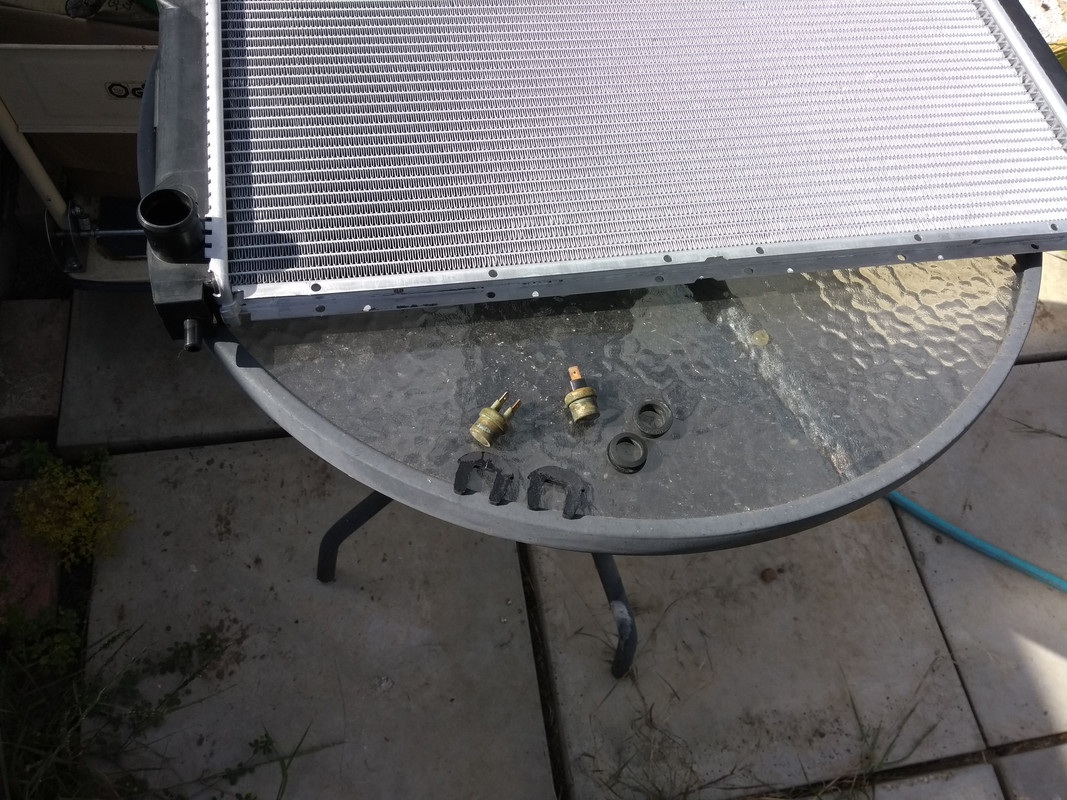
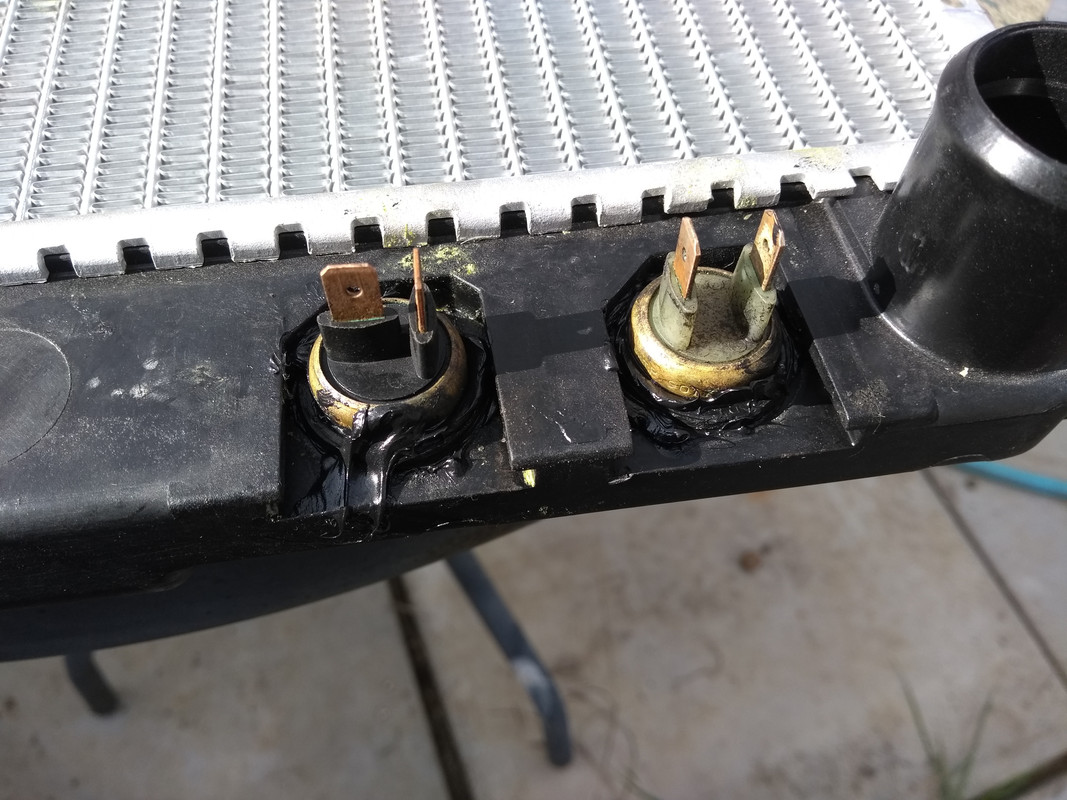
Fan switches and new seals plus the clips from the old rad to hold the fan switches in - they don't fit!
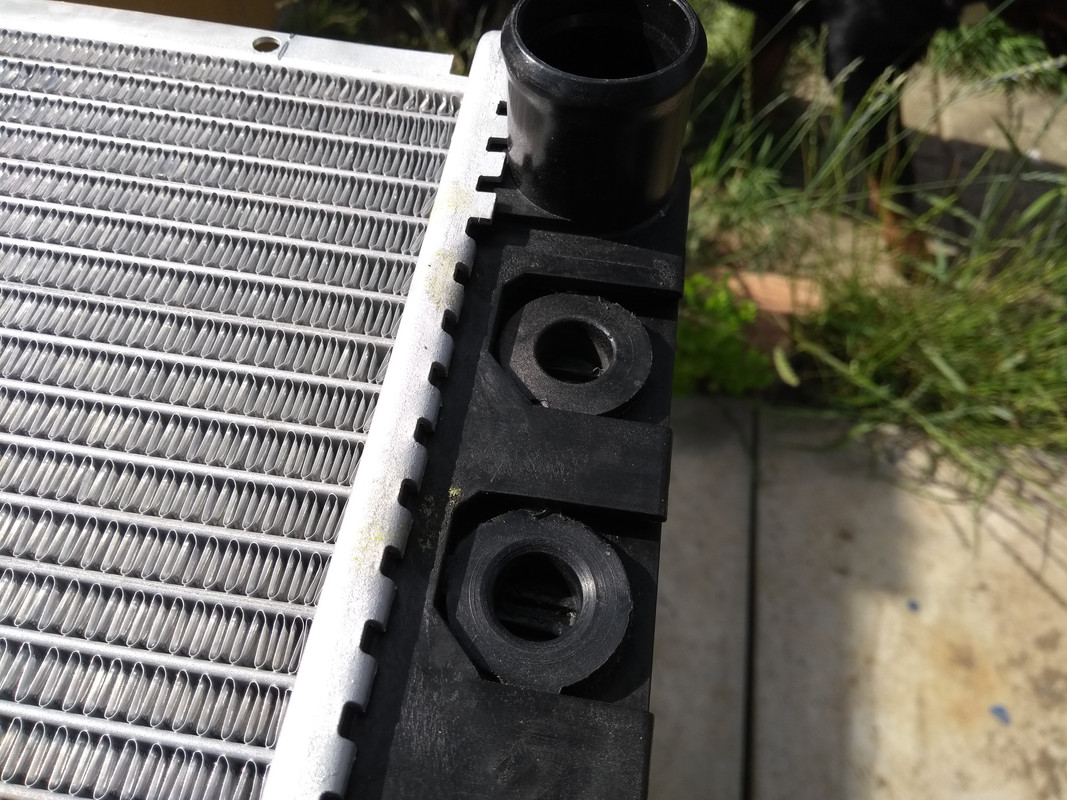
The bungs in the new rad where the fan switches go. The correct clips have little "ears" that lock in when turned, similar to the "ears" that can just about be seen on those bungs.
Fan switches glued in with RTV sealant awaiting new clips :
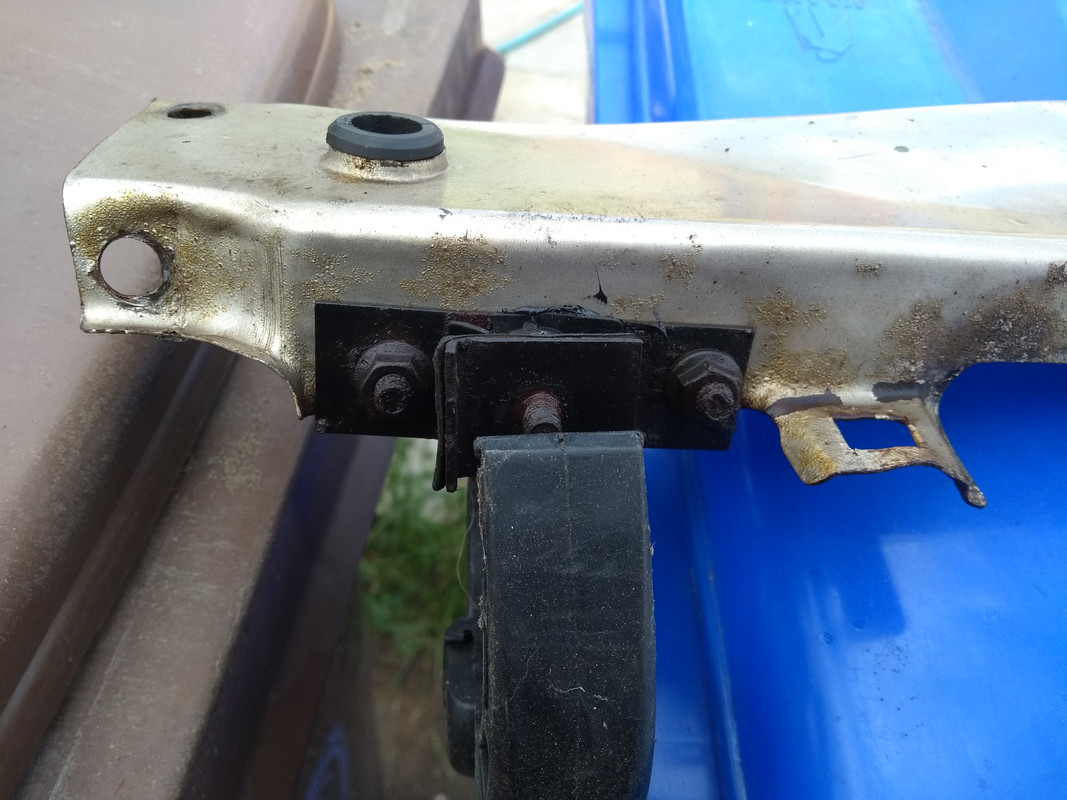
Also used the RTV to repair the resilient mounts for the condensor. Left to cure :
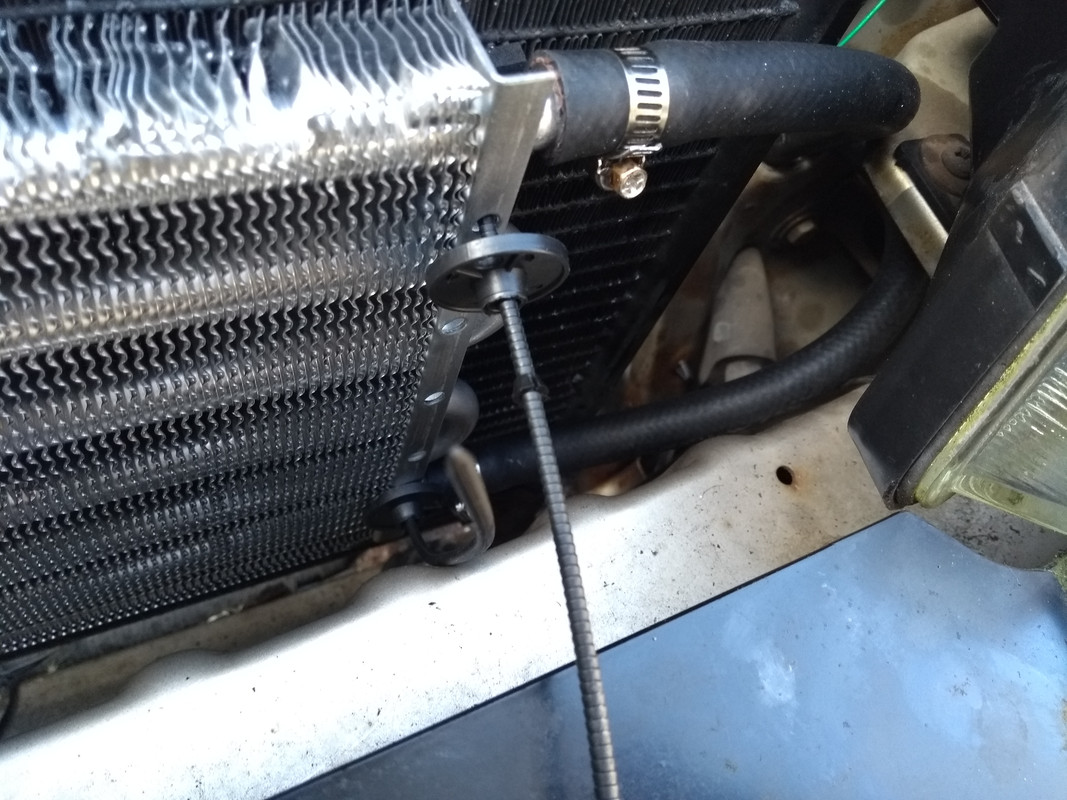
Now for some bright and shiny stuff! The new ATF cooler in place, secured with the strange but effective cable tie things that go through the radiator or condensor behind, have a 3-4mm thick self-adhesive pade between the two then are secured with the disc and a collet, a bit like a valve collet but a complete circle except for one gap. The dis has conical inserts for the collet to tighten it.
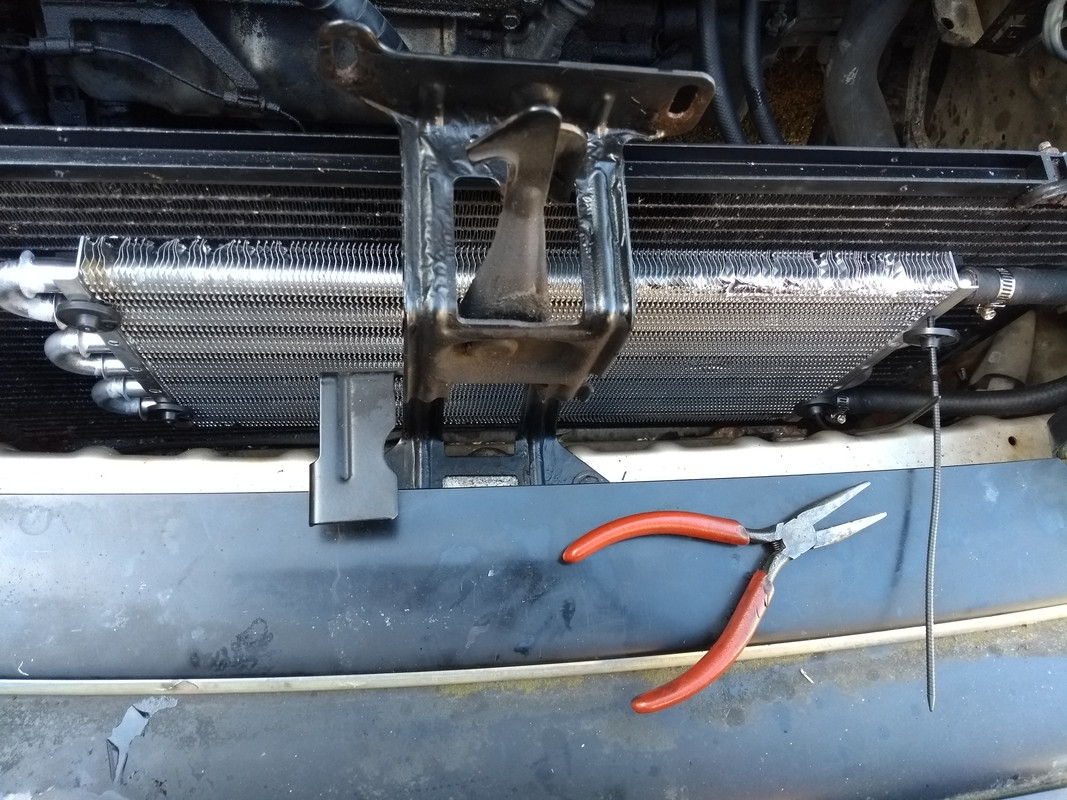
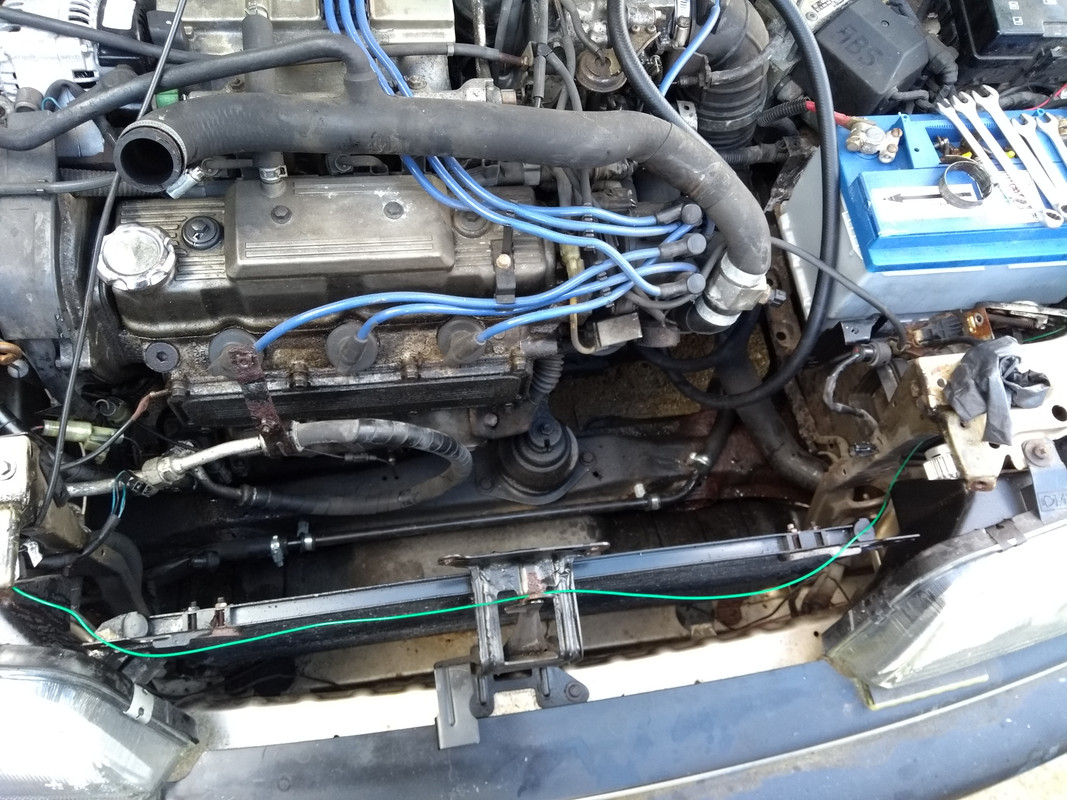
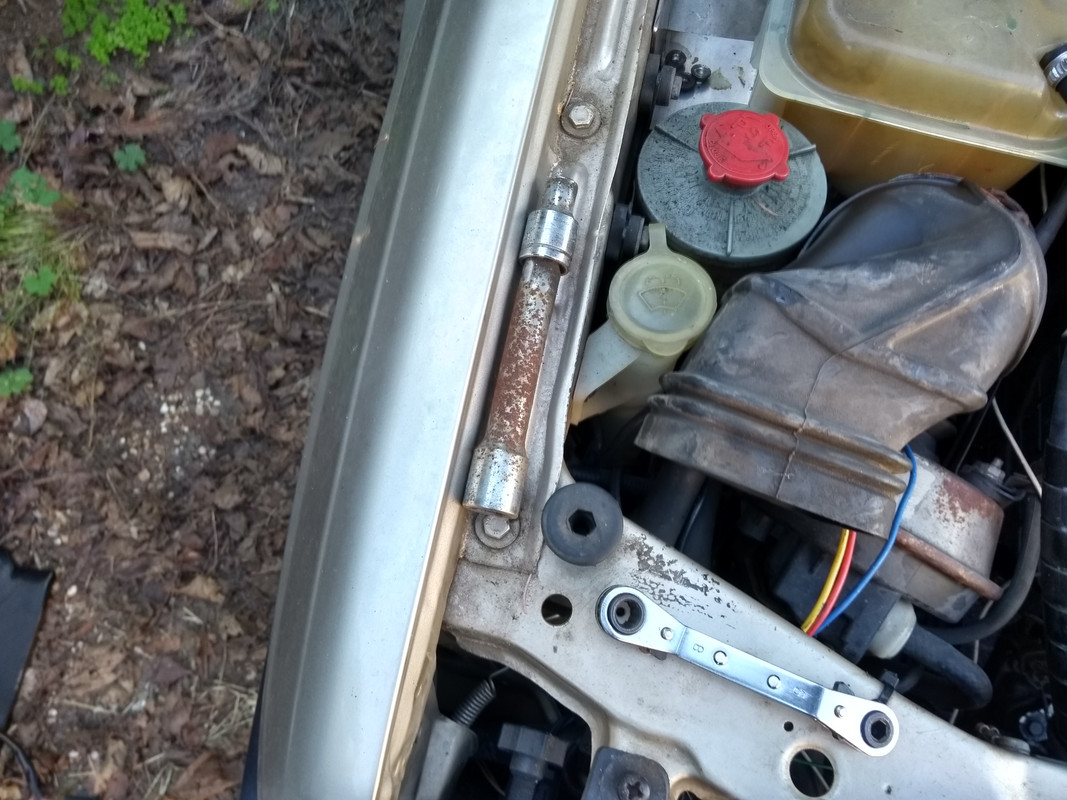
Found this 1/2" drive extension and 8mm socket when i removed the fan below it!

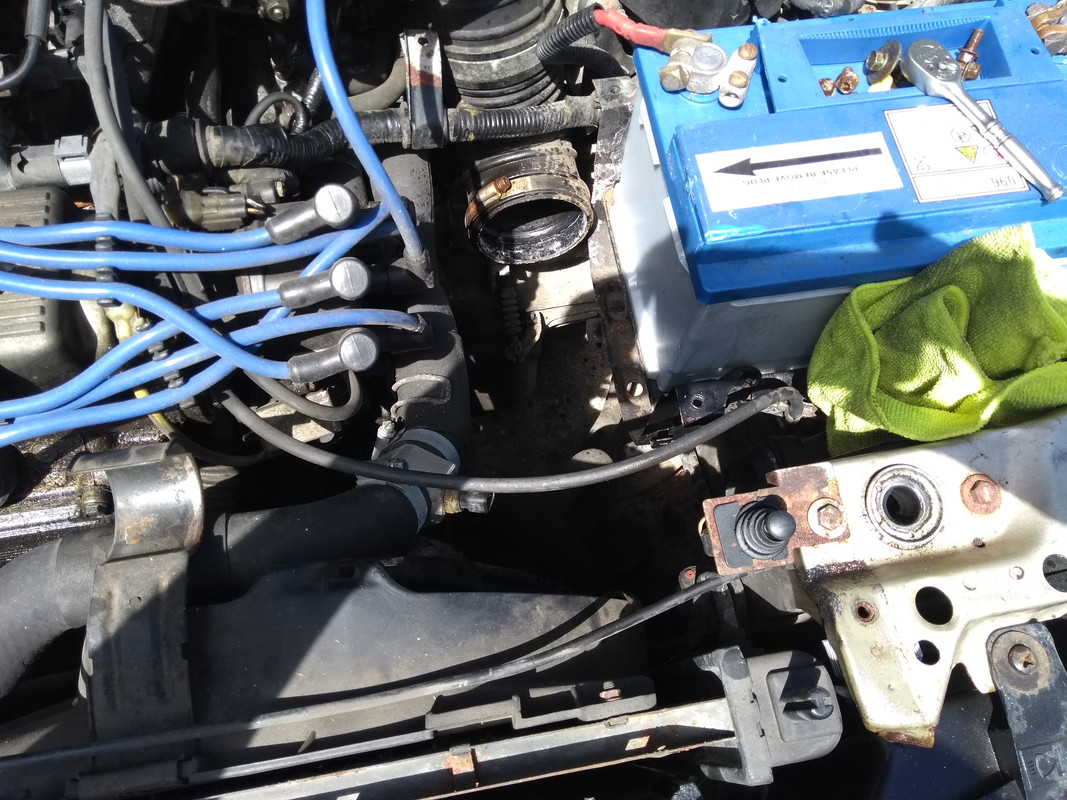
No wonder i had trouble shifting the old ATF cooler hoses :
Weird fan switch clip arrangement on the old rad :
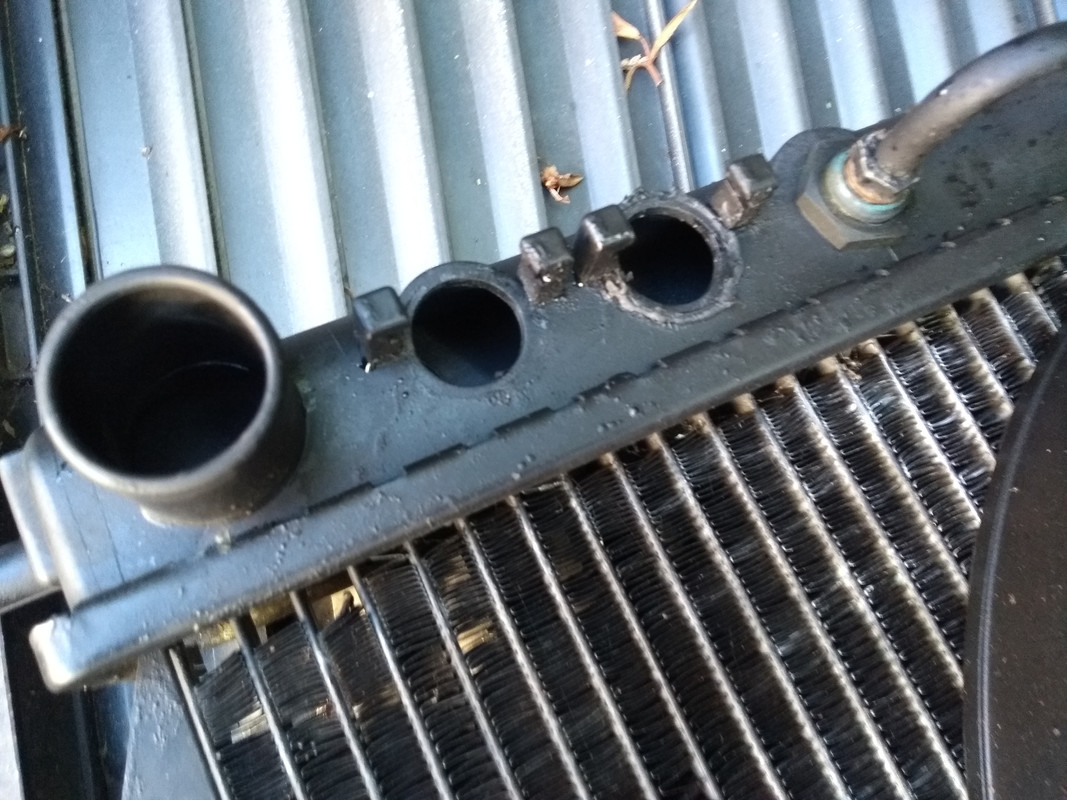
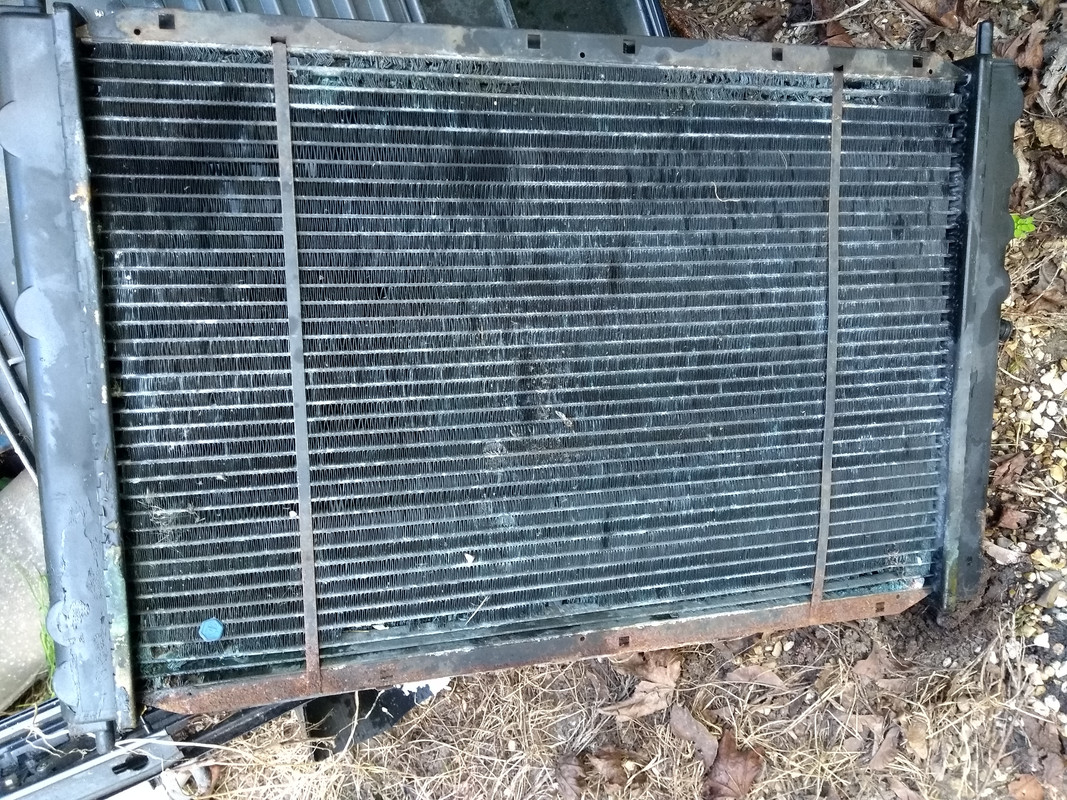
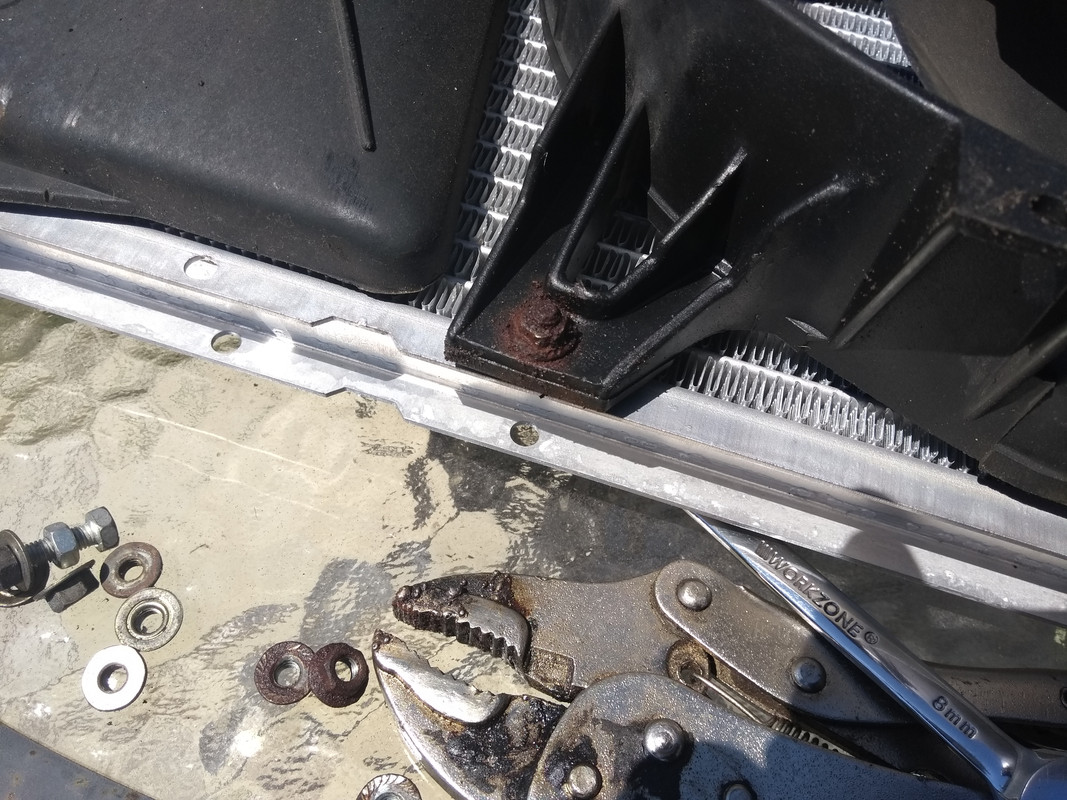
Easy to see where the old rad was leaking :
There's always one bolt that won't undo or shear :
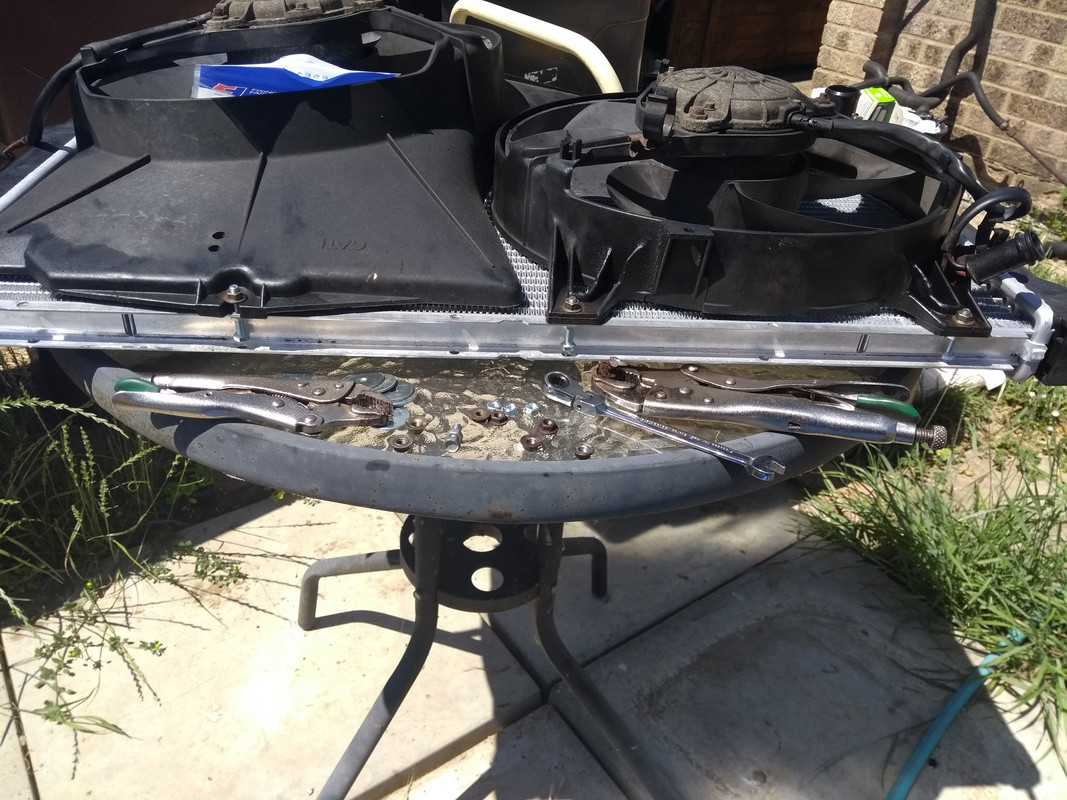
Got there though :
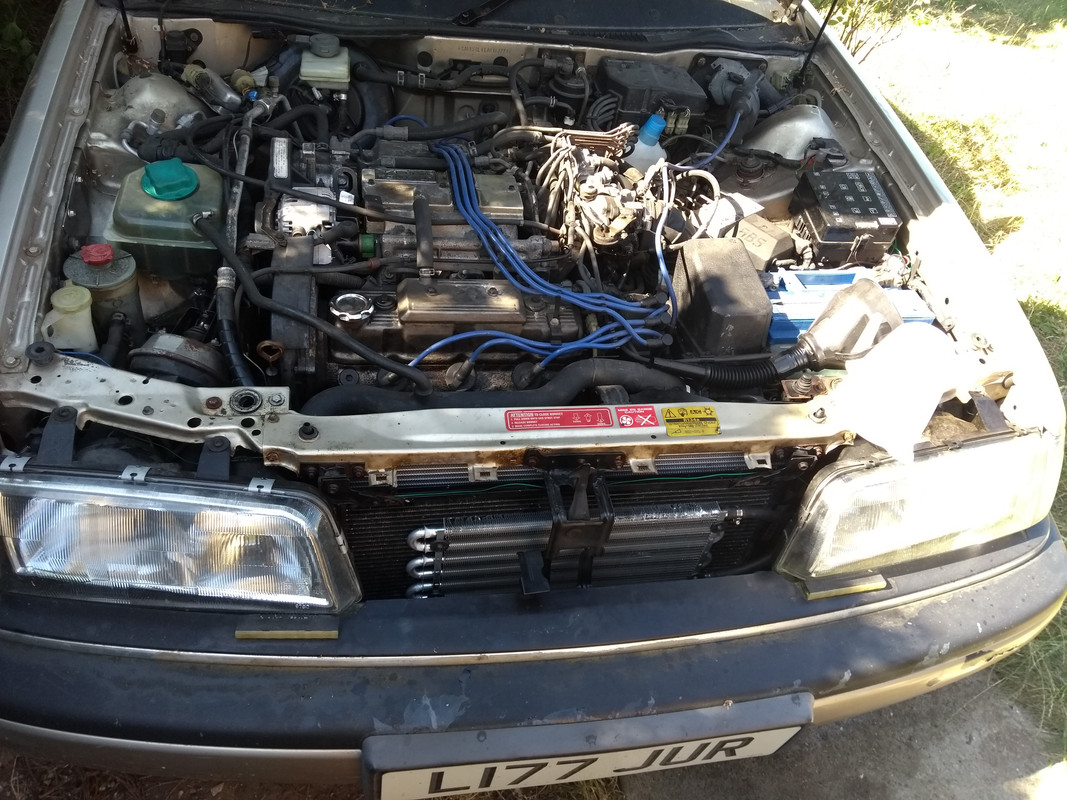
All done! Funnel with extension is for topping the ATF, may have overfilled slightly but nothing untoward during the test drive, engine braking seems improved, perhaps because the ATF is running cooler making the torque converter more efficient.
The new fan switch clips :
No photos of those fitted as it's hard enough to see to fit them, never mind getting the phone in there to take a shot!
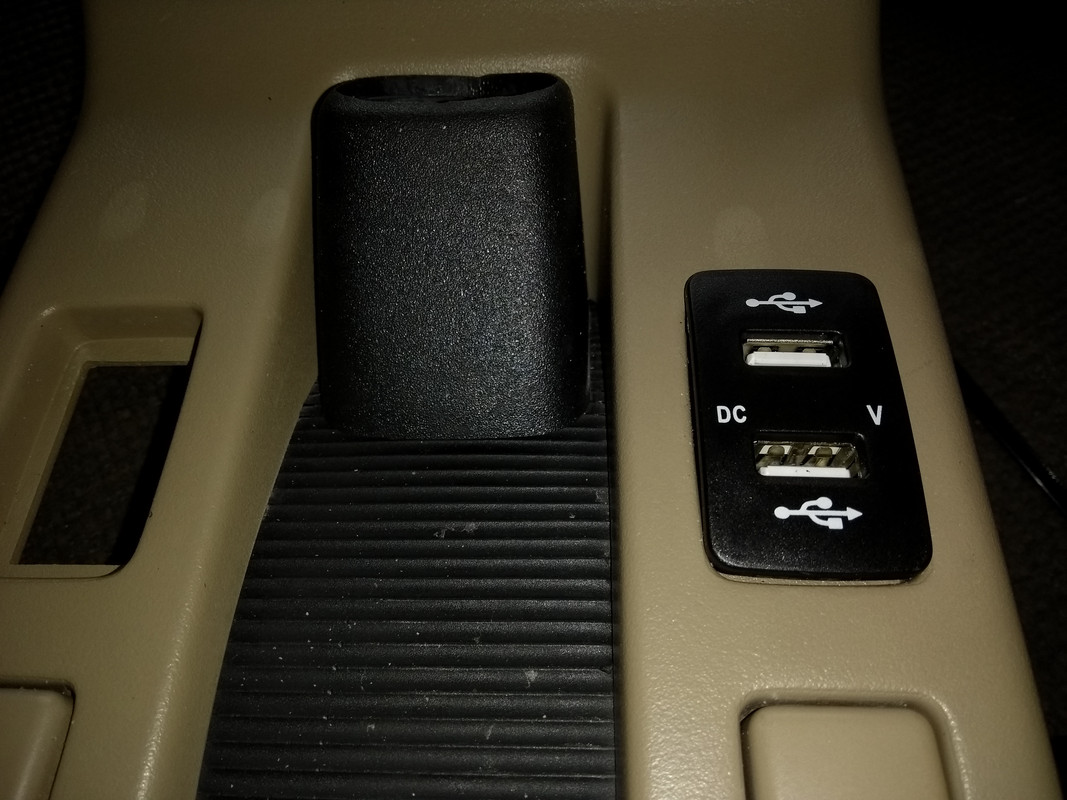
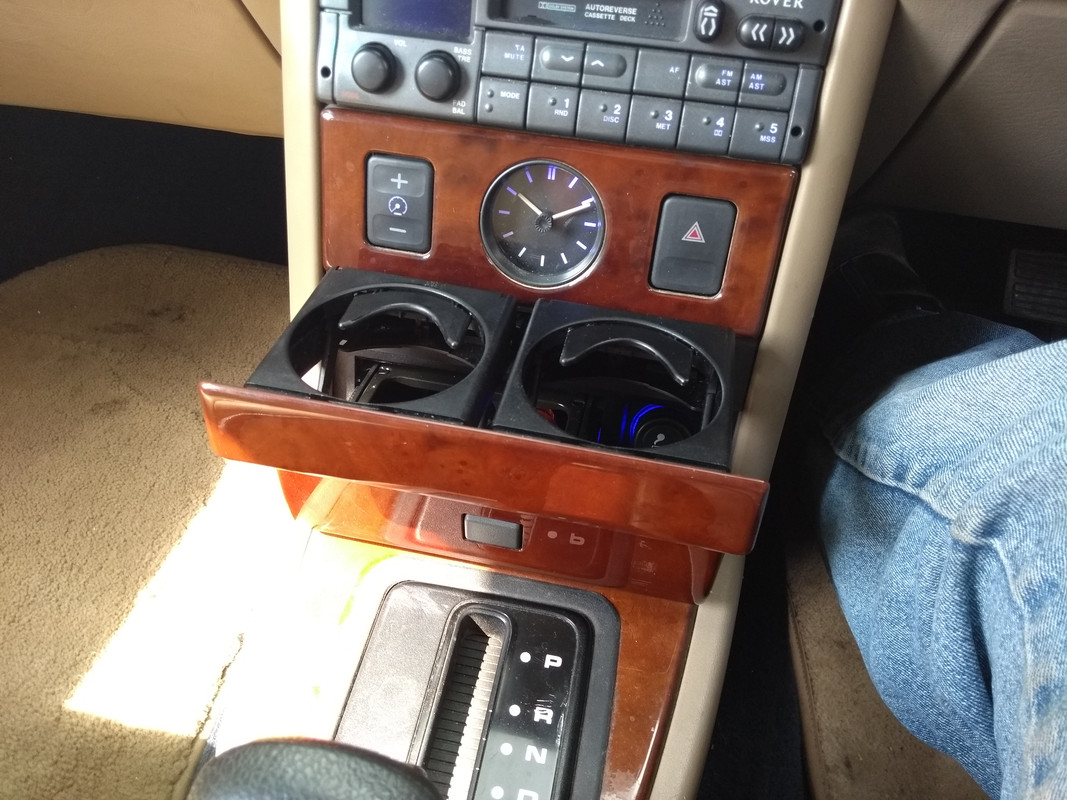
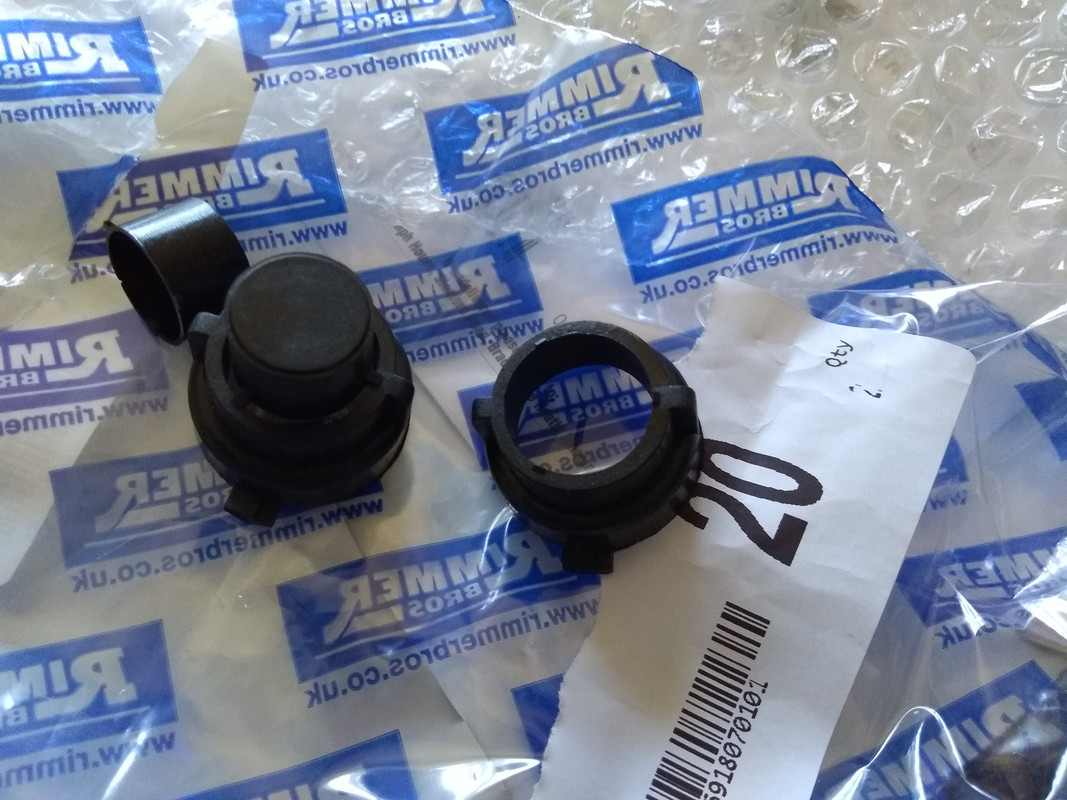
Now for something completely different :
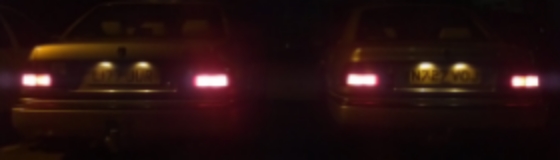
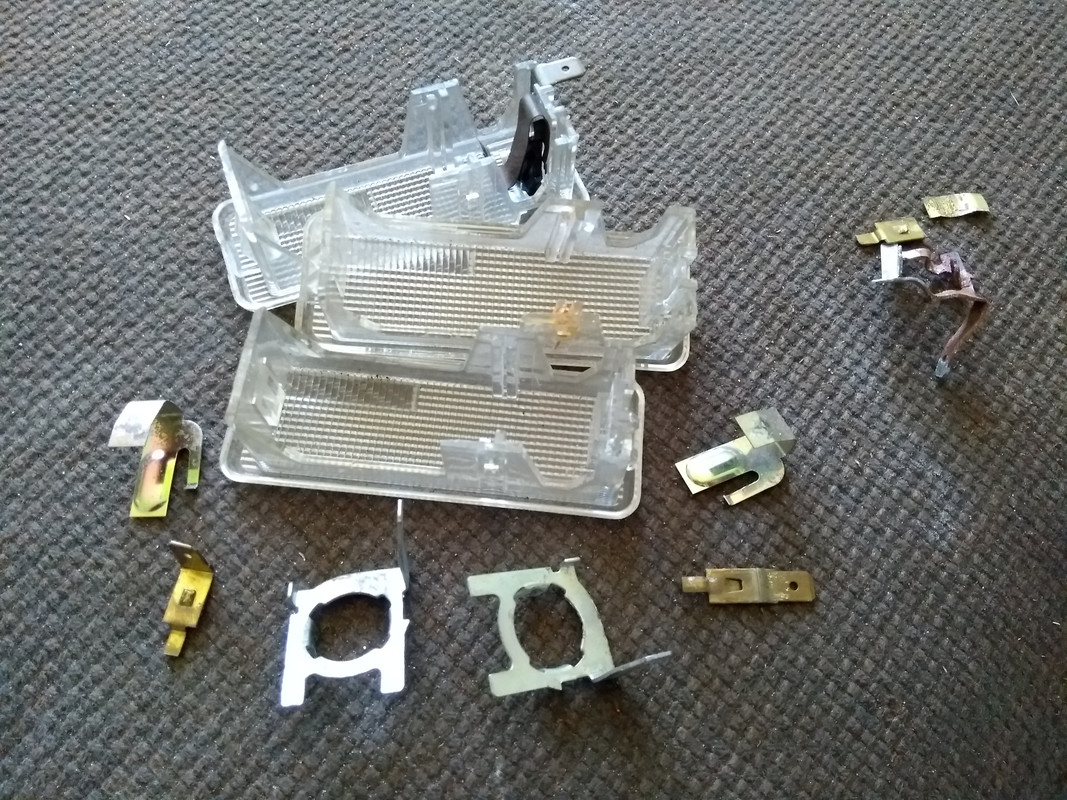
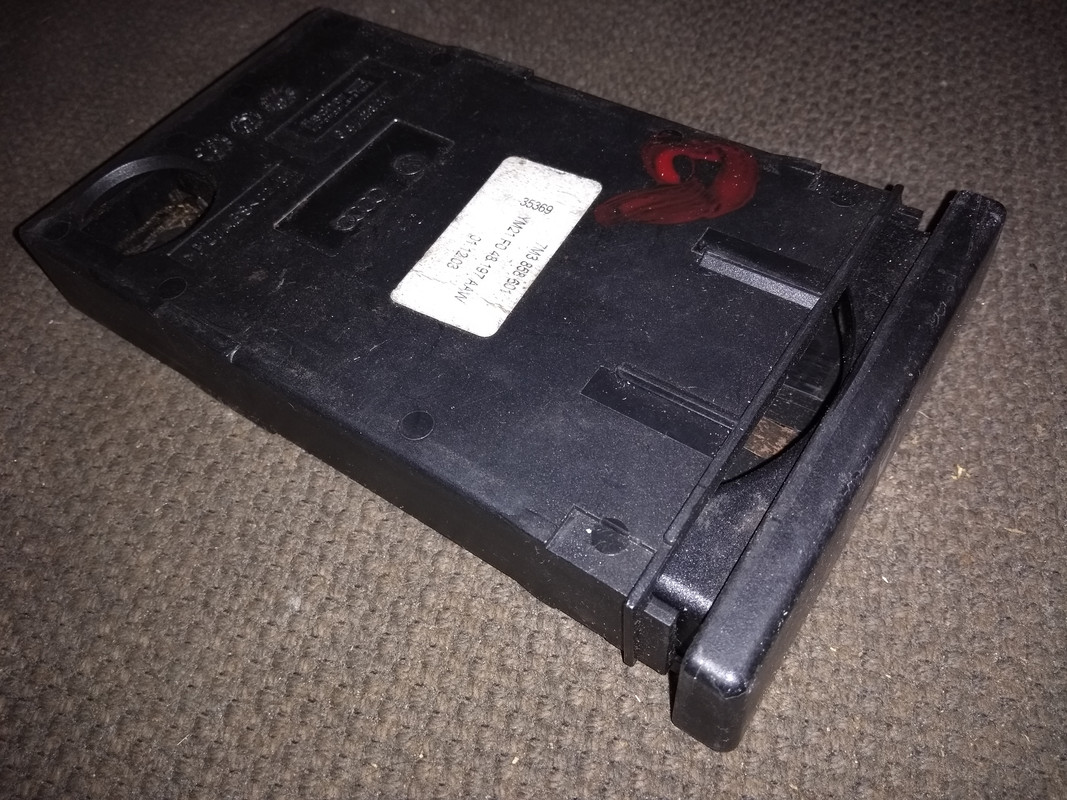
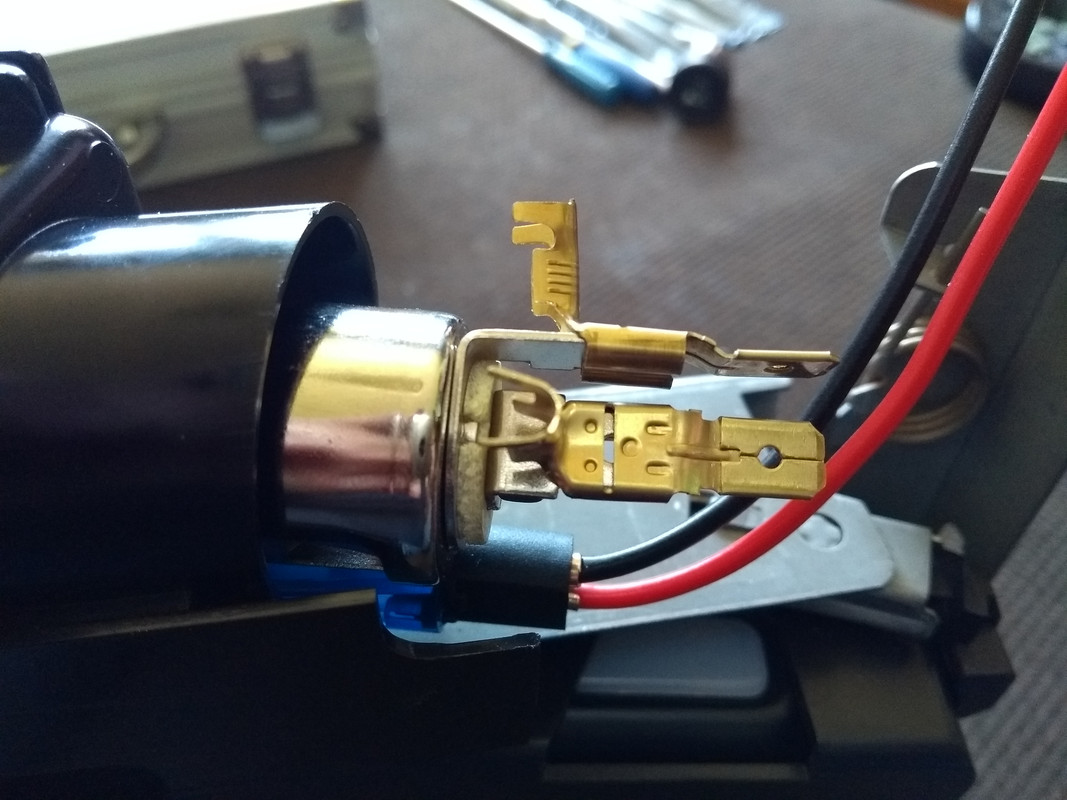
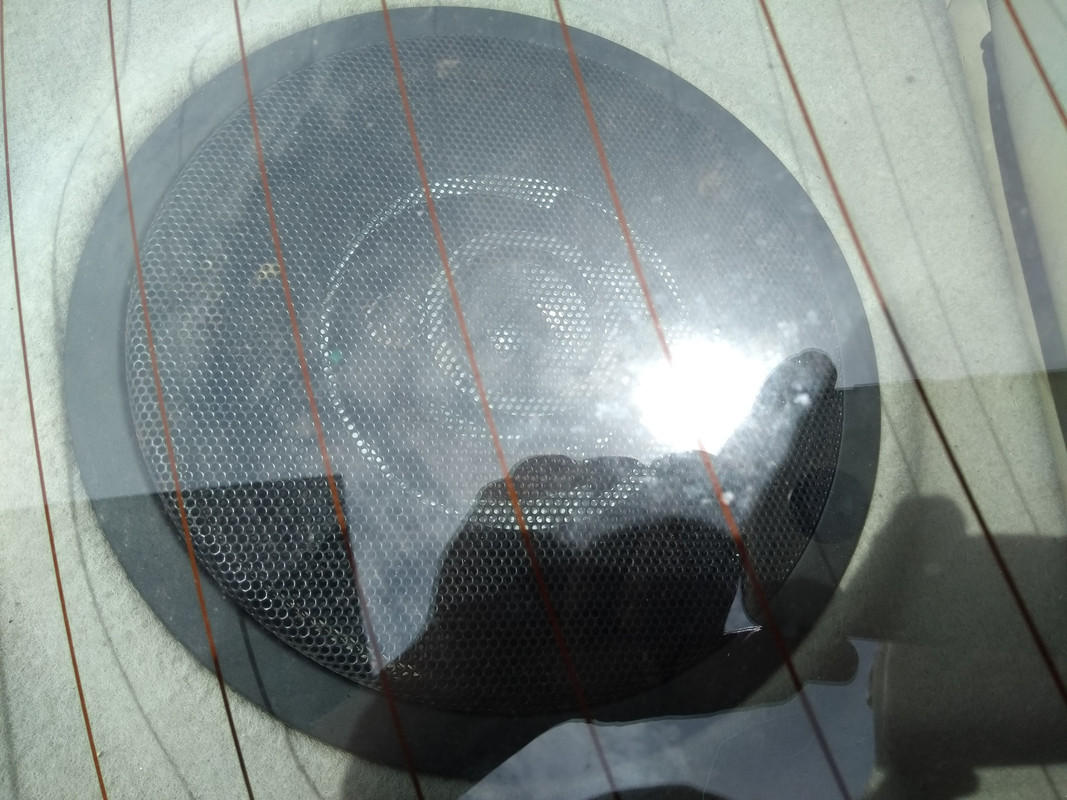
Had these a couple of years, bought for the Coupé and never fitted. One of the old speakers :
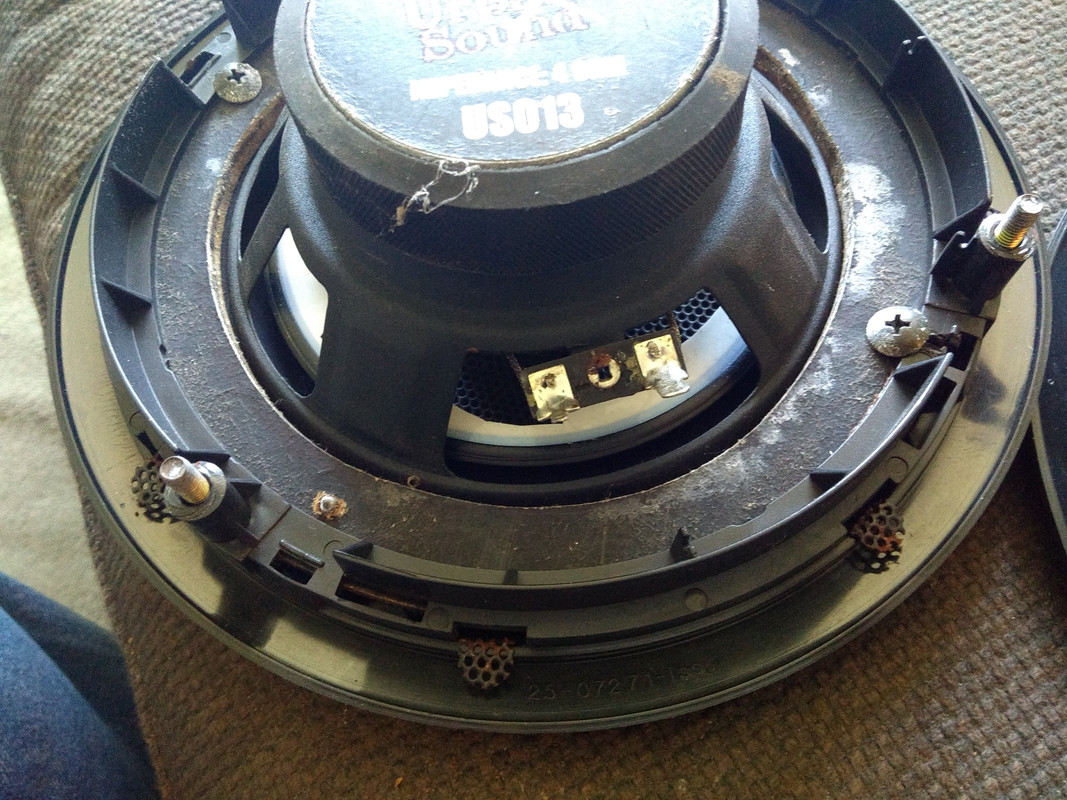
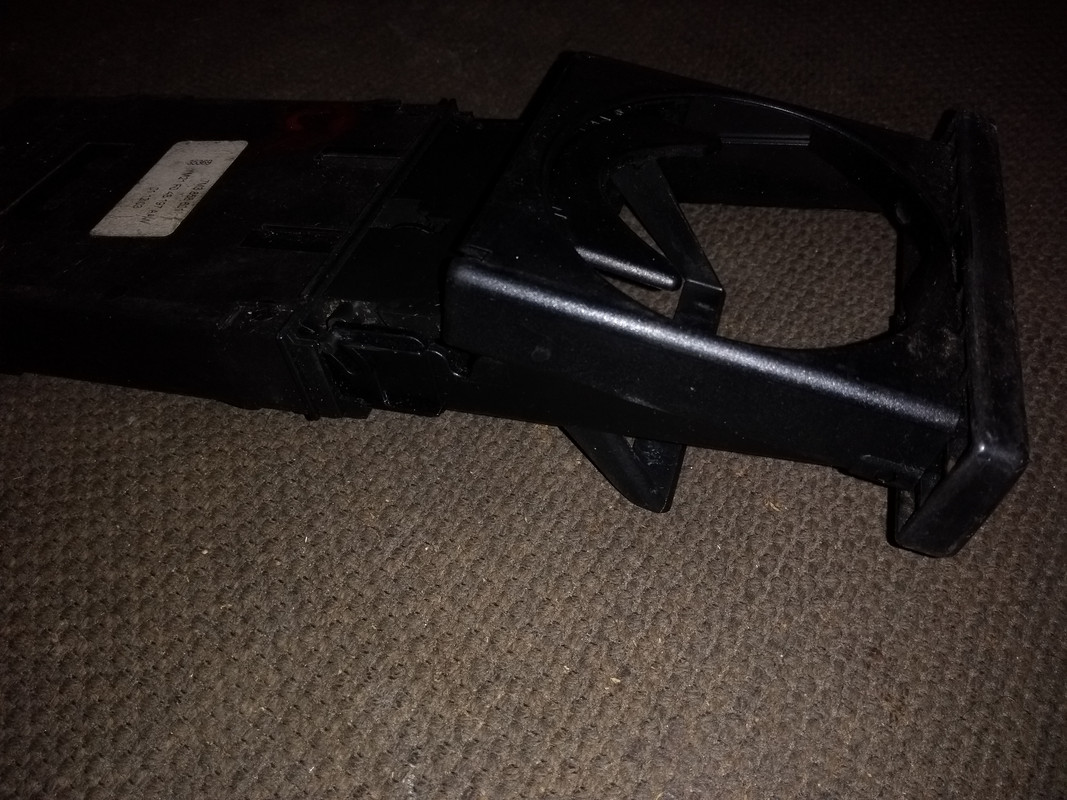
TARFU!! And then some!

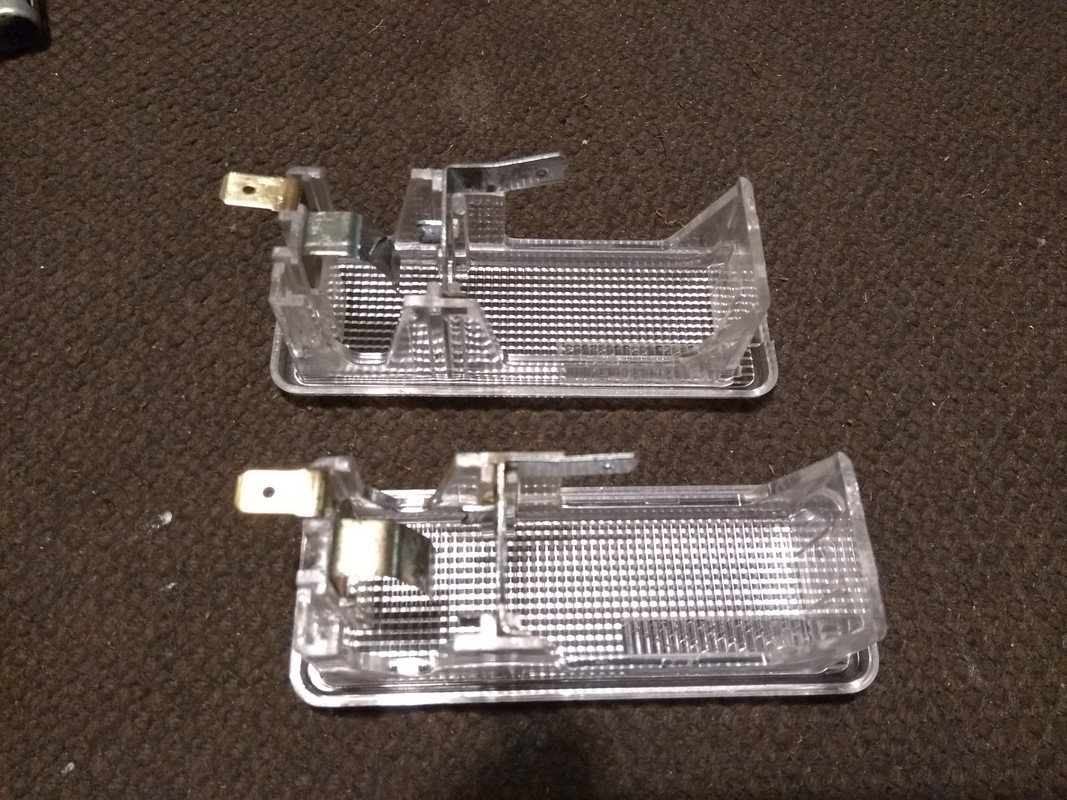
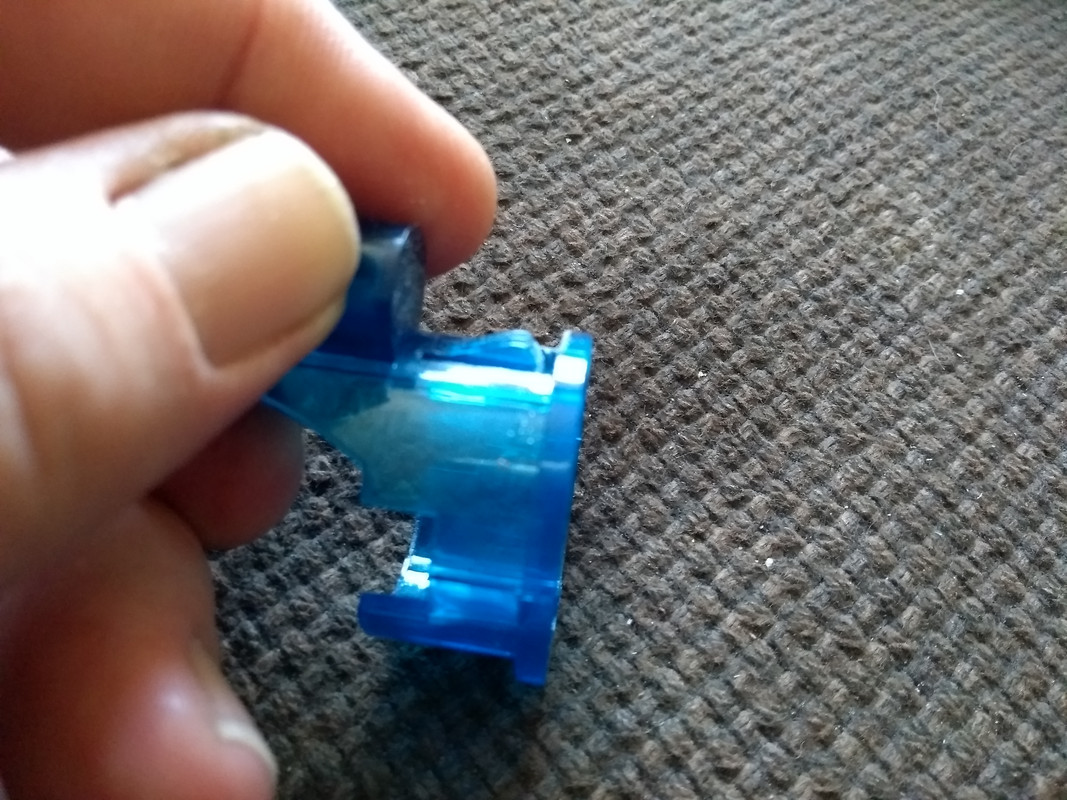
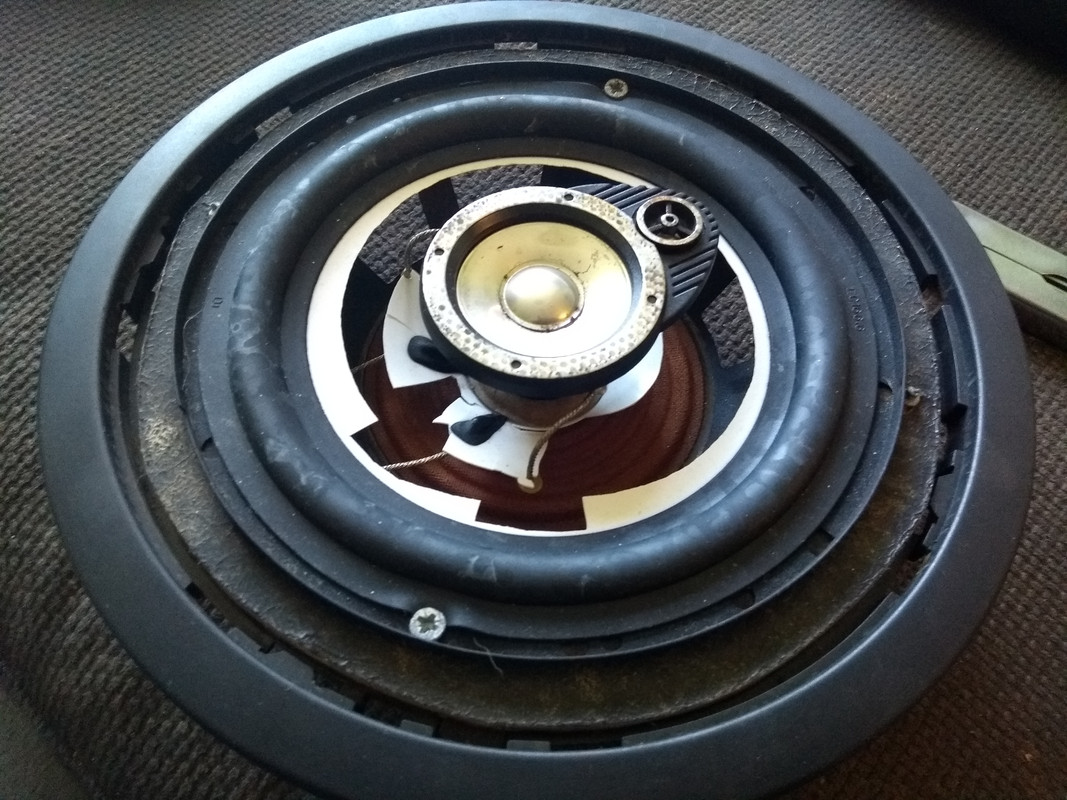
That's better!

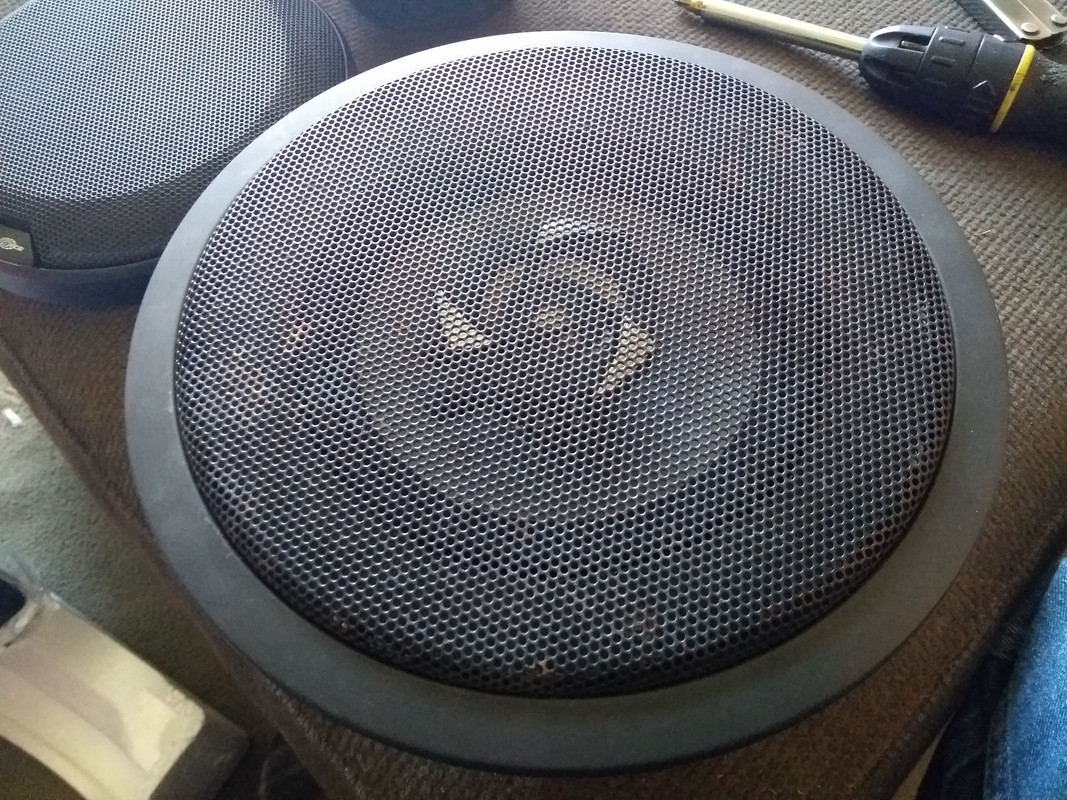
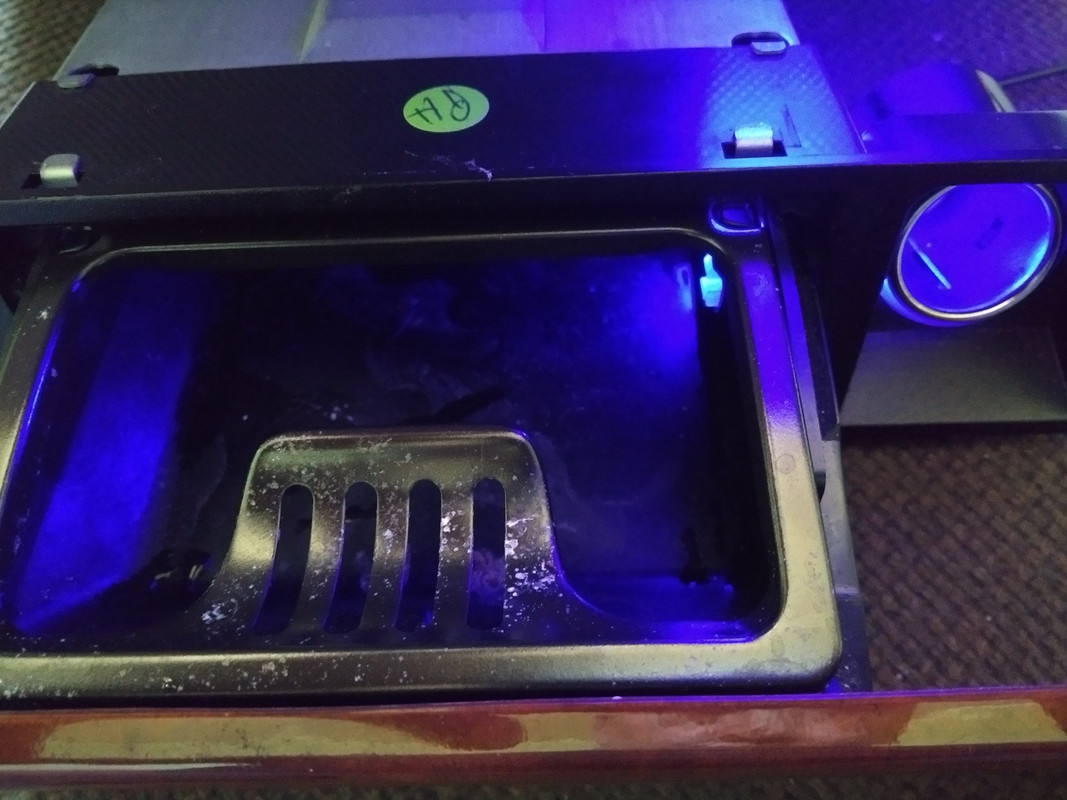
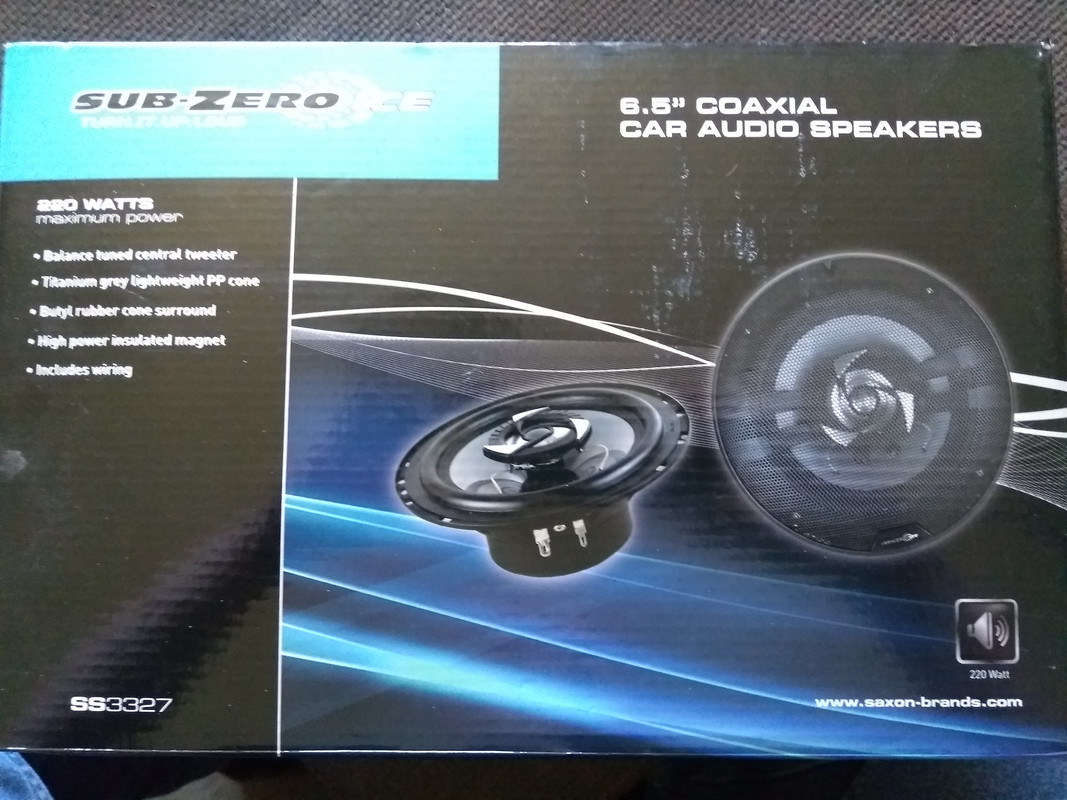
Ready for fitting.
Apart from the noisy clutch bearing on the A/C compressor and a minor tweak needed on the tracking, it's pretty much there mechanically now. Next thing will be the LPG conversion but the Volvo will come first for that treatment!
There are loads of other jobs to do on the project but so far, each has improved life in general without being glaringly obvious to an onlooker.